Painting Furniture Tips

How To Stencil Furniture


Who doesn't love stenciling!?!? Stenciling is probably one of my favorite things to do to a piece of furniture! Stenciling can add a pop of fun almost anywhere! 

I remember when I first started taking painted finish classes and my teacher would talk about stenciling. I always thought it was something from the 1980's. I did not realize stenciling is totally in the NOW! ha. 

Okay, so my favorite stencils are from Royal Design Studio. Melanie Royal actually designs all the stencils and they are well thought out and well made. They are a little expensive BUT they will last you a lifetime!

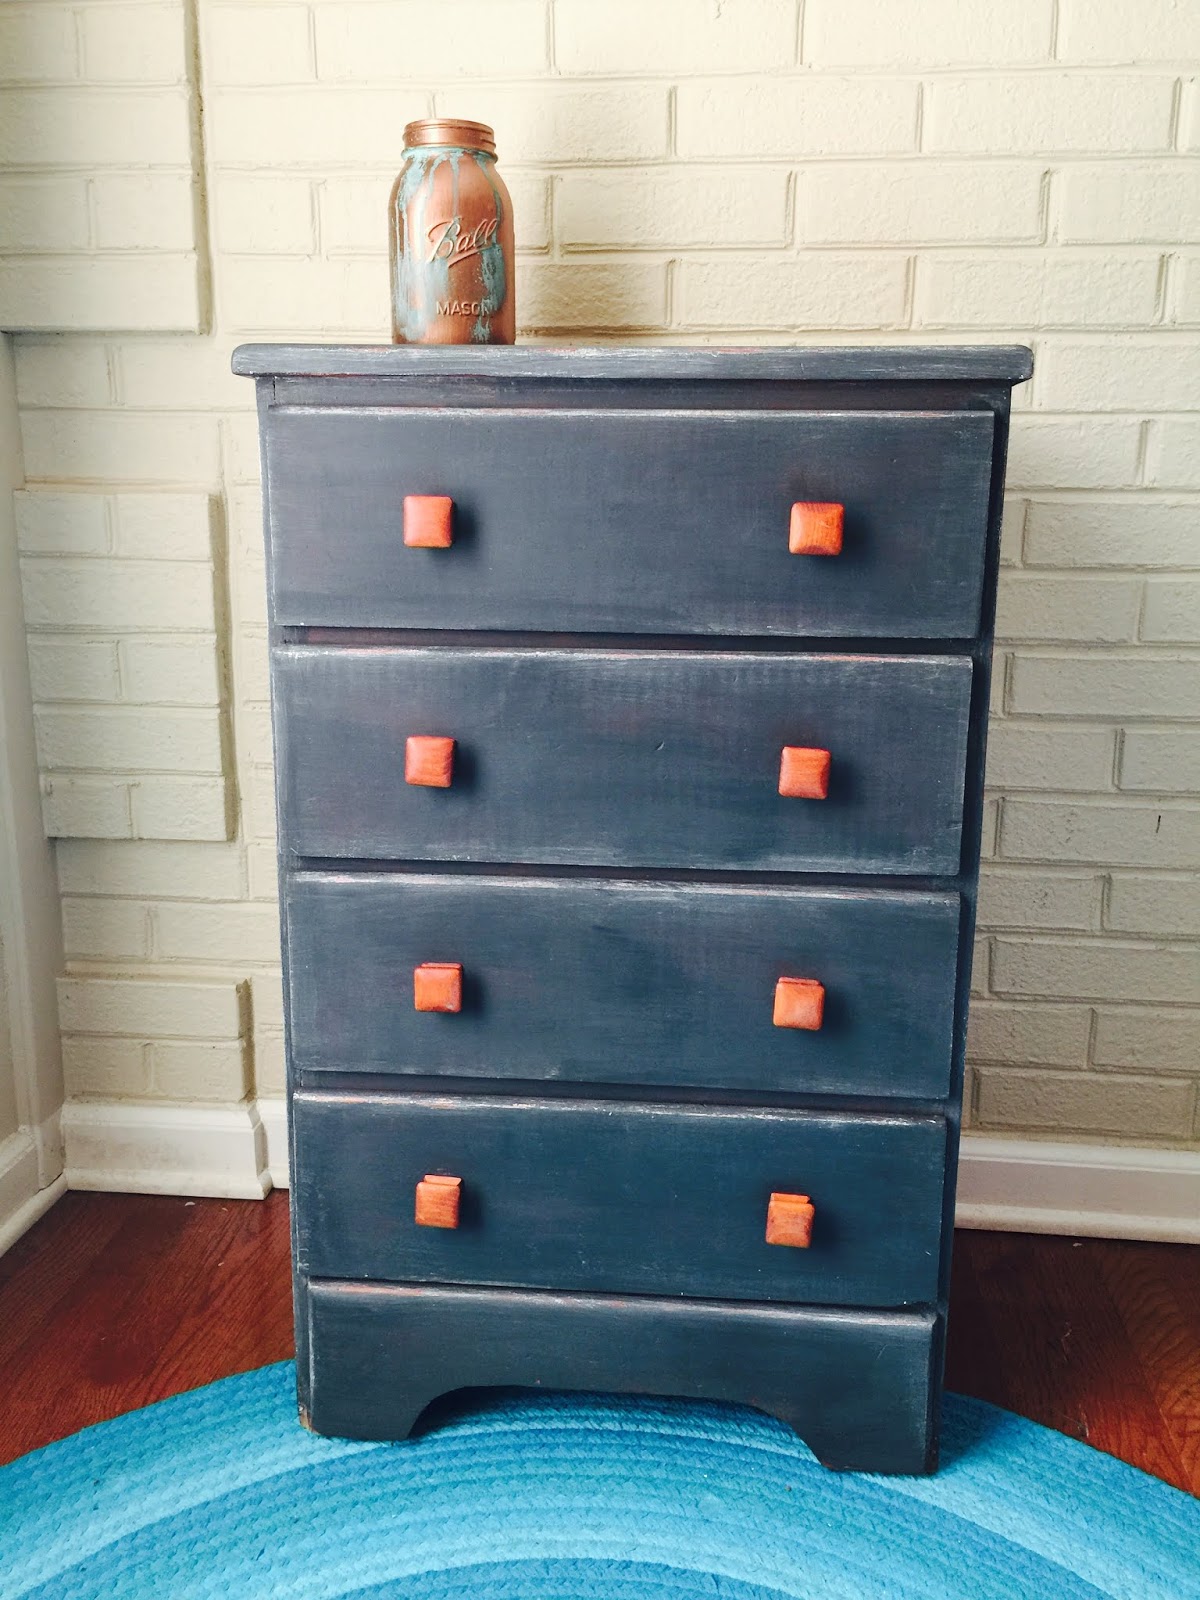
The stencil used on this drawer was a cheap o stencil from wal-mart! Seriously it was like $2.99. I bought it for fun! And this cute little chest of drawers was perfect to try the stencil out on! :)

What you will need to stencil

  • Stencil Brush Set (I like this one bc it comes with different sizes for your project!_
  • Chalk Paint (Waverly chalk paint from wal-mart works great!)
  • A Stencil!
  • Shop Towels

There are 2 main tricks to stenciling! 
  1. DAB DAB DAB with your stencil brush making up and down motions. DO NOT USE BRUSH STROKES (or you will have bleed thru!)
  2. OFF LOAD (once you have paint on your brush wipe excess off on a shop towel AKA off loading)
With the 2 main tricks to stenciling you are on you way to perfect stenciled lines every time! They will be clear and crisp. There is no need to bleed thru. Bleed thru usually happens if too much paint has been applied to the brush OR you are using brush strokes to stencil. ;) 

Let me know if you have any questions!!! I LOVE Stenciling and talking about stenciling!!Ha! ☺


The Perfect Antique Black For Painting Furniture

Annie Sloan Graphite

 I get asked quite a bit by clients to paint their furniture "antique black". There are TONS of "antique blacks" on the market. How do you decide which one is right for the piece you are working on? A couple things to consider when choosing your perfect Antique Black...

  1. What color is the wall the piece will be next too? (some blacks tend to have blue hues to them and can make gray walls look a little blue instead of gray)
  2. Are you wanting a shiny finish or a Matt finish?
 Once you have answered these questions you can begin to pick your product! For a Matt finish you are going to want to look at your chalk paint lines. The chest in this picture I painted in Annie Sloan's Graphite chalk paint. Annie Sloan's products have a Matt finish once they are sealed with clear wax. 

If you are wanting a shiny finish consider lacquers. They are going to have a shine to them. I've also had lots of luck with Modern Master's Elegant Front Door Paint. I know it's for the front door but, it is a beautiful ELEGANT black and I have had happy clients when I have used it for furniture! 

Before


After


How to Use Gel Stains


Sanding!!! EEEK!! Have you all ever felt like sanding was a daunting task? Well, me too!! I wanted to share some photos of a modern piece I did for a client that I COMPLETELY sanded.

I used General Finishes Antique Walnut Stain for this project. And guys...it went on soooo smooth and beautiful! I just love General Finishes products! I also sealed the piece with General Finishes GEL Top Coat I chose the Gel Top Coat because the Gel Top Coat is made to work with the Gel Stain. They both have more of a hair gel consistency. :) As opposed to regular stain that is runny like water. 

How To Use Gel Stains

  1. Pick your favorite Gel Stain! This is my favorite! 
  2. Foam Brushes! 
  3. Shop Towels
  4. General Finishes Gel Stain Top Coat
One of the things I LOVE about Gel stains is that you do not need to completely sand the piece before you apply gel stain to get a beautiful stained look! (you will not see the grain of the wood come thru. If you are wanting to see the grain you will need to sand.) 

Apply Gel Stain with your foam brush making sure to go the same direction as the grain you CAN or wipe off the excess stain with shop towels. You DO NOT have too if you are working on a piece that the grain is not showing thru. Let first coat dry and apply more gel stain until the darkness is to your liking! Seal with a polyurethane Like the one I have listed above! I use these products on a regular basis and love them!


This piece took about 3 coats of General Finishes Antique Walnut Stain. And it was SO much fun to do! I find that gel stains are much easier to work with than regular stains. With gel stains you have more control and in some situations you do not need to sand your piece before you apply gel stain! I had to on this particular piece because the mildew damage was too extensive. 

What do you guys think!? If you have any gel stain questions leave a comment below and I will answer them! :)


Products I used

Before


The Perfect White To Paint Furniture


 White!! Everyone wants the perfect white to paint furniture! So, I'm going to tell you the white that I've had the MOST success with!  

 My go to white is.............Annie Sloan's Old White!! I have used Old White on everything from Kitchen Cabinets, to metal lamps. And it turns out beautiful each time! I like Old White because it has a hint of pigment in the paint so that it is not stark white. Annie Sloan's Pure white does not have pigment added to it. 

 I sealed the pictures in this post with Annie Sloan's Clear wax and a Waxine Wax brush. I used shop towels to wipe off any of the excess wax and buffed to a shine!

Do you have a favorite white for painting Furniture? If so, comment below with your favorite color and brand! 


How To Clean Brass Hardware


Hi everyone!!! I wanted to share with you all how to clean yucky, gross brass hardware!! You CAN save it. You do not always have to  paint over the ugly! You can scrub the ugly off!

You will need to remove the hardware for the cleaning. How do you know if your brass hardware is real brass? One of the easiest ways for me to tell is.......real brass is HEAVY plated brass is very light and has no weight behind it. The picture's I'm sharing with you are of plated brass. Plated brass also cleans up nicely, although not quite as nice as the real thing!

What you will need:

Place vinegar in pot and bring to a light boil. You want just enough vinegar to cover the hardware. Once vinegar is boiling place hardware in pot and let boil 1 to 2 minutes. Remove hardware carefully (it will be hot!) and lightly scrub with 0000 steel wool! You should start to see all the the gunk disappearing before your eye!! Use shop towels to wipe off extra gunk! 

Side Note: I personally am not a fan of polishing brass because a lot of times polish can leave a white filmy residue on your hardware 

Comment below with any questions and let me know what you think!!!


DIY: Hanging Planter From Paint Cans

 I LOVE LOVE thrift stores!!! If you are reading this you probably do too!! Give me an air high five! 🙌 So, I came across these NEW but missing all their paint can handles at our local Goodwill. They were so cute and cheap I just couldn't resist buying them, even though I had no idea what I was going to do with them!

 Along comes SPRING! ⚘ and I started looking thru our garage for some cute planters or something I could turn into a planter. My eye came across the new paint cans with no handles!! I thought "perfect!" I drilled holes straight thru where the handles should have been. Cut and tied rope thru each hole. I made sure they were very secure to be able to hold soil and flowers. Next, I took Annie Sloan's Graphite Chalk paint and did one swipe in the middle with my brush. I let it dry then I stenciled "water" on one can and "me" on the other. I'm TERRIBLE about remembering to water plants! Ha. This DID help! This year I think I'm going to fill them with herbs!! What do you guys think? Yae? Or Nae? 


DIY: How To Paint A File Cabinet


A cute place to store paperwork!?! Yes! I'm in! Anything to make the bills look better, right? Ha. I found this file cabinet at a flea market in Jonesboro, AR. It was tucked away in the back, I noticed it was only $15 so I went figured I could do a quick furniture paint job and resell this guy!

I painted the file cabinet in Annie Sloan's Graphite and used Modern Masters Metallic paint on the flowers and Modern Masters patina paint on the handles. The flower stencil I purchased from Royal Design Studio. I LOVE their stencils. They are super durable. If your kiddos happen to pick one up and shake it a bunch like its a Moroccan the stencil will still be intact!! Whooho!

Have fun with it! I recommend Jolie Paint, Annie Sloan Paint and Dixie Belle's paint for painting a file cabinet because I know they adhere well to METAL without any problems later down the road!


Chair Painted in Jolie Gesso

Guys!! Have you ever started painting something and not realized what was on the piece of furniture you were painting!?! Okay, today, that was me! 😂 I had NO idea the back of this chair had a dragon on it!? How cool is that! I thought It was just some pretty floral pattern. One of the things I love about Jolie paint is how it can bring out the BEST details on a piece of furniture! I'm also LOVING this color!!

This chair I painted in Jolie Gesso and antiqued slightly with black wax. :) How fun is the dragon!?


DIY Valentines Day Mason Jar Teacher Gifts


Guys!! I have a super fun DIY Valentines Day project for you!! If you love a good mason jar craft then this is for you!! I made these mason jars last year as teacher gifts for our kiddos teachers. Fill them with flowers and you are ready!

Items you will need:


  • Chalk Paint (I used Annie sloan's Primer Red and Scandinavian pink)
  • Mason Jars
  • Steel Wool
  • Twine
  • Heart Stencil ( I purchased this is a large pack with letters at Walmart-Mart)
  • Clear Wax
Begin by painting your mason jar with chalk paint! You want good coverage. This will take about 2 coats of paint. Once the 2nd coat of paint is dry stencil your heart stencil onto of the "BALL" part of the mason jar in the color of your choice. After the heart is dry dip your steel wool into your wax and lightly rub the raised part of your mason jar until some of the paint on the "BALL" and "MASON" begins to come off (this also seals your mason jar!).  Your mason jars will begin to feel nice and smooth to the touch. Wrap twine around the top of mason jars and afix a cute tag!! Fill with water and flowers! 


How to Paint A Chandelier


Oh my goodness!! Painted. Chandelier!?! Yes!!

I was painting a client's china cabinet and dinning room table when she started telling me how she was going to take down her Chandelier and spray spray it white. I told her that we could just chalkpaint it! And then she wouldn't have to take it all down...take all the crystals off...etc...etc...

She said yes!!! So, I used a small bristle brush and Annie Sloan's Old White chalk paint and I dry brushed. This Chandelier has probably close to 5 coats of Old White dry brushed on it. I think it's important to dry brush because you want to make sure the natural details of the chandelier still stand out. If you put thick layers of paint on it, it is going to hide the pretty details! :) What do you think!?!


How to Gray Wash Furniture


Have you heard of white washing furniture? Everyone loves a white wash! But, let's have a little fun and do a gray wash!! 

The piece below I painted for a clients guest bedroom. I painted the piece in Annie Sloan's French Linen, then I did a gray wash of Paris Gray. 

You can do a wash in several different ways. I prefer to use a bowl of water and lightly dip the end of my brush's bristles into the PAINT first and then into the bowl of water. You do not want it to be drippy. So not too much water! Then you lightly make brush strokes up and down on top of your base coat color. You can also use a shop towel to wipe of any excess water and to blot down the paint a bit. :)


How To Stencil Furniture

Who doesn't love stenciling!?!? Stenciling is probably one of my favorite things to do to a piece of furniture! Stenciling can add ...

Most Popular Posts